
Heroku is PaaS i.e Platform as a Service Cloud platform, where developers can code, deploy, and run applications entirely in a cloud. Applications written in most of the languages available out there can be deployed remotely on Heroku without any hurdle. Also, one can keep track of the changes (through version control support in Heroku) and test their functionalities globally on Heroku.
One can create a laravel project on Heroku Cloud and can make their applications live with URL provided by Heroku and test their functionality giving the application a feel of live deployment.
Let’s commence with the procedure by following the steps below.
-
Installing Heroku CLI
Install Heroku Command Line by running the below command in terminal –
sudo snap install --classic heroku
(In this post, we have used Ubuntu 18.04 OS . For other OS, visit Heroku CLI )
And, to verify whether Heroku CLI is successfully installed, run –heroku --version

-
Create Laravel Application
Now, for installing Laravel Application, we are using the composer. In the terminal, run the below command –composer create-project laravel/laravel herokularavel --prefer-dist
-
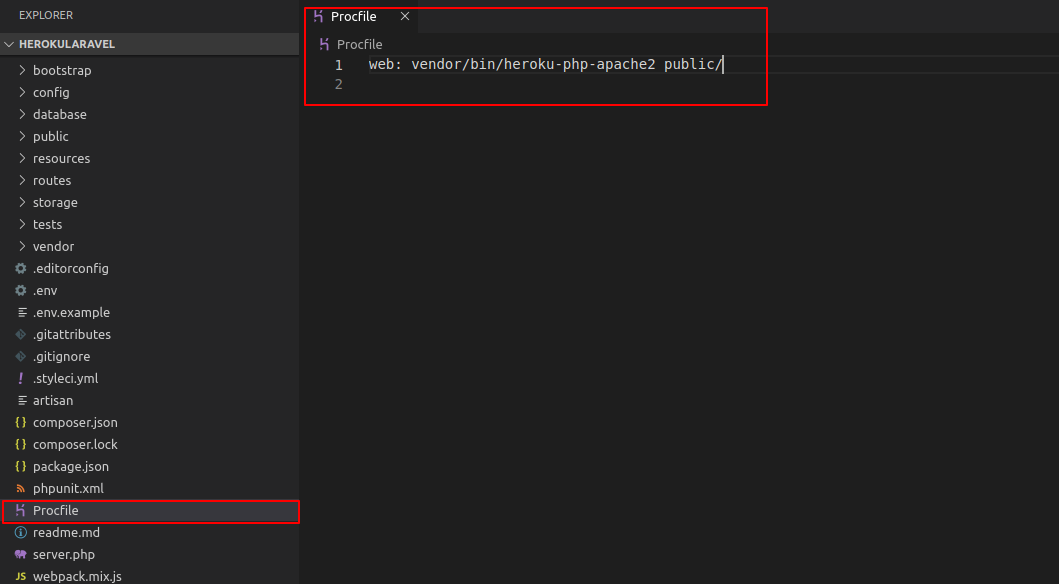
Creating Procfile
A Procfile is a text file that is normally kept inside the root of the project and it basically specifies the commands that will run at the time of startup. So, create a file name Procfile and add the below line to it and save it in the root of the project created.
web: vendor/bin/heroku-php-apache2 public/
-
Make Your Project a Git Repo
Run the following command to initialize your project as Git repository. Already, initializing your project as git repo will make it easy to be implemented on Heroku otherwise, some errors come into picture while you are directly migrating your project/application into Heroku server.git init

-
Log into your Heroku account
Log into the Heroku account from the terminal. Here I was already logged into my Heroku account from a browser, so the terminal redirected me directly to the browser and back to the terminal after successful login.heroku login

Now, the terminal will redirect to browser –
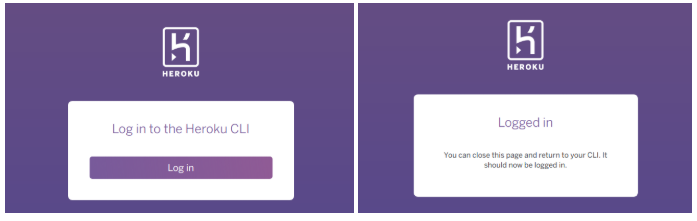
After a successful login, the terminal will show a message like –

-
Creating a Heroku Application
Executeheroku createin terminal to create a Heroku application. Heroku will provide a random name to your application, along with URI for git repo and URL to access your application

After the creation of application on Heroku Server –

-
Laravel Encryption Key Setup
Now, we need to configure the laravel encryption key with the Heroku Application. Run the following command in the terminal to view the encryption key of laravel application and copy the same.php artisan key:generate --show
It will return a key like this –

Copy the key and paste it afterheroku config:set APP_KEY=in terminal.
It will look something like this –heroku config:setAPP_KEY=base64:Rst************************zzwA=

-
Pushing Laravel Project to GIT
After setting up the Laravel application on Heroku, we will push the laravel code into Git using the following command –git add .
After pushing, commit the same on Git using the command –
git commit -m "Laravel Project Deployment on Heroku"
At last we will push the code on Heroku Server –
git push heroku master
-
Start the Application
Execute the following command to run the Heroku application –heroku open

After that, you can visit application anytime globally via generated URL in Step 6
I.e. https://aqueous-plateau-61450.herokuapp.com/


