Templates are often used in web frameworks. In the Python Django framework, a template view is used to dynamically render HTML content. When the goal is to display some information on an HTML page, a Template view can do that very effectively.
It’s most suitable for static pages like “about-us” that do not need any context variables. However, the template view can easily utilize context variables if needed.
For better understanding, Let’s create a basic Django project that will use template view to render a “test-page.html” file that contains HTML content. Use “python3” if you are following this tutorial on the Linux system. On Windows, use “python” while executing commands.
1. Open Terminal, create a new Python virtual environment in the current working directory, and activate it using:
For Linux:
$ python3 -m venv new_env

$ source new_env/bin/activate
For Windows:
> python -m venv new_env

> .\new_env\Script\activate
2. Install the Django framework in the current environment and start a new Python Django project using:
$ pip install django

$ django-admin startproject project
3. Create a new “app” in the project:
$ cd project

$ python3 manage.py startapp app
4. Open the “views.py” file from “app” directory and paste the following code (make sure to remove the existing content in “views.py” file):
from django.views.generic.base import TemplateView
class TestPage(TemplateView):

template_name = 'test-page.html'
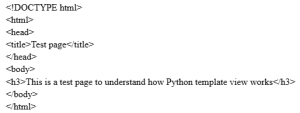
5. Make a new “templates” named directory in “app” directory and create “test-page.html” file inside “templates” directory with the following code:
6. Open the “urls.py” file inside “project” directory and add the following code:
from django.contrib import admin

from django.urls import path

from test_app.views import TestPage
urlpatterns = [

path('admin/', admin.site.urls),

path('', TestPage.as_view(), name="testpage")

]
7. Now open “settings.py” from “project” directory and make the required changes in these two lines:
ALLOWED_HOSTS = ["127.0.0.1", "localhost"]
'DIRS': ["test_app/templates"]
# ‘DIRS’ line is under “TEMPLATES” block
8. Run below commands to complete the database initialization and migrations process for new project setup:
$ python3 manage.py makemigrations

$ python3 manage.py migrate
9. After successful database migration, execute the following command to run the test server:
$ python3 manage.py runserver
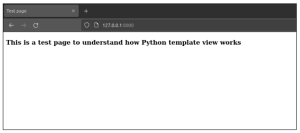
If everything is done correctly as explained above, the test server will start on http://120.0.0.1:8000 or http://localhost:8000 to access the Django application. By using the URL in the browser, you should see the rendered template similar as below: