To set up a Salesforce organization on Visual Studio code at the Linux platform, firstly you need to download the TAR file of the Salesforce CLI (sfdxcli).
The Salesforce CLI is a set of commands and a powerful command-line tool that helps in simplifying development and automating the building process when working with your organization. It helps in synchronizing source code between organizations and source repositories.
Download Salesforce CLI –
To download the Salesforce CLI sfdx in your system use the following link.
https://developer.salesforce.com/tools/sfdxcli
- Go to the link and download the Linux version TAR file to your system.
- After downloading the sfdx tar file, go to the terminal and make a directory with the help of the command
mkdir ~/sfdx

- Then locate your downloaded TAR file and unzip it with the command
tar xJf Downloads/sfdx-linux-x64.tar.xz -C ~/sfdx –strip-components 1

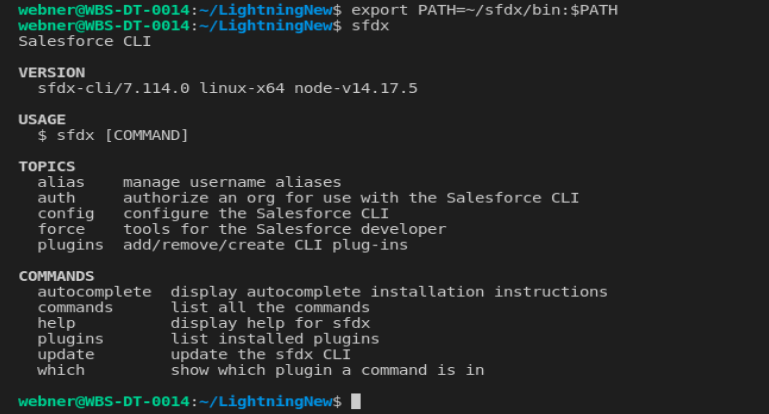
- Now update your PATH environment variable for the current terminal session.
export PATH=~/sfdx/bin:$PATH

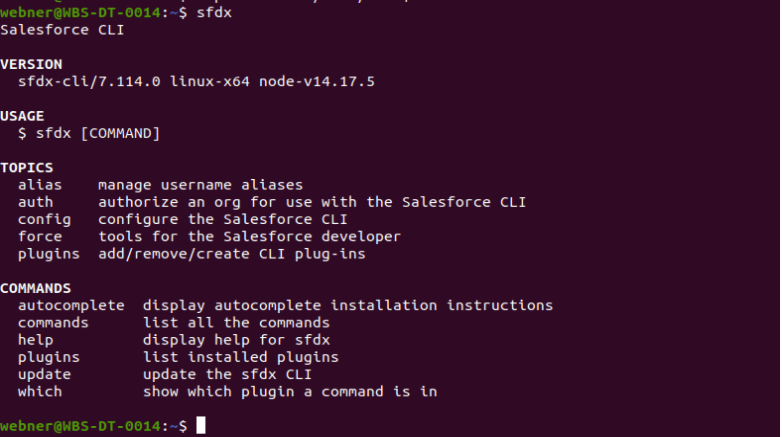
- Use the sfdx command to check if the sfdx is installed correctly or not. Simply write sfdx and enter.

- If salesforce CLI is successfully installed then you will get this output on the screen.
You can do the same steps for installing the Salesforce CLI through VS code terminal.
Note:- You have to set the PATH environment variable every time you open the VS code after closing it properly. The sfdx commands will only run if the path is set. So repeat the environment setting step whenever you open the VS code.
As your Salesforce CLI is successfully working so now we need to create a project in the VS code and authorize an Org to retrieve/ deploy your code.
Steps to create a project
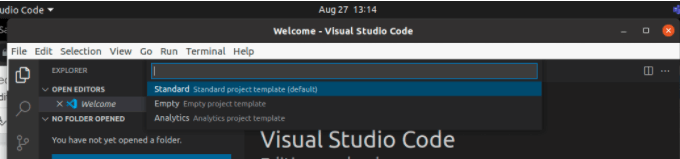
- Using the Command Palette, you can create a project. Press Ctrl+Shift+P to open the Command Palette and type Project
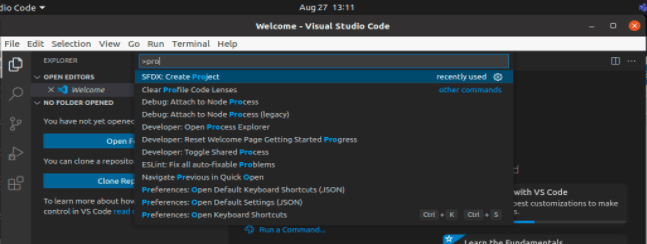
- Click Enter and you will see an option to select which type of project template you want to use, Choose Standard for now.
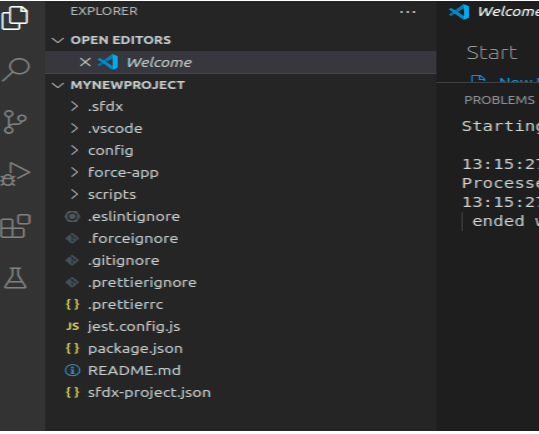
- Now it will open the option to enter the Project name, so enter your project name accordingly and click enter.

Now your VS Code project has been successfully created.
As your project is created successfully. So now we need to connect our VS Code project folder to Organization.
Authorize an Organization through Command Line
Use the sfdx commands to authorize an organization through VS code.
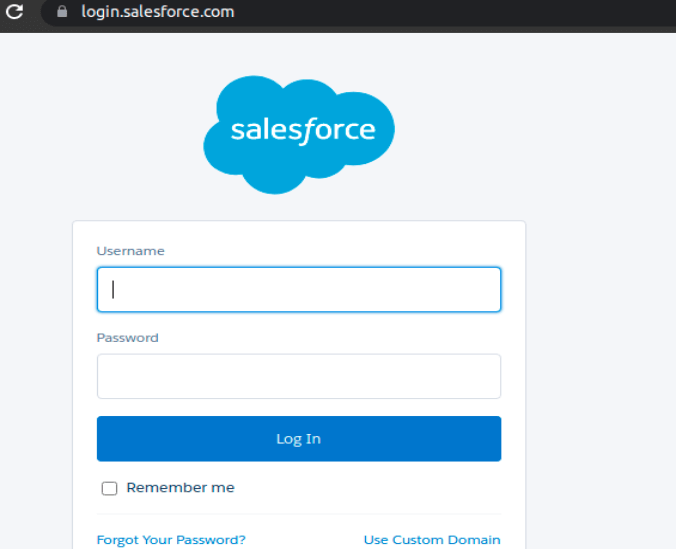
sfdx force:auth:web:login -a <Your Organization URL>

Use -a in your auth command to login to the default login page of Salesforce.
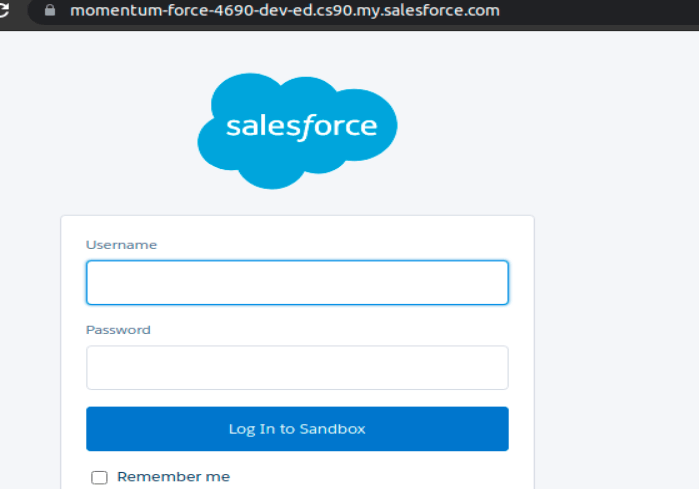
Use -r in your auth command if you want to login to your custom URL.
sfdx force:auth:web:login -r <Your Custom Organization URL>

By using -r in the command, the browser will open the login page of your custom URL passed after it.
By login into it, you will receive a message in the terminal of successfully authorized to use the organization.

To view all lists of organizations connected through your VS code. Use force:org:list command.
sfdx force:org:list

jQuery presents a tree-like structure of all the elements on a webpage simplifying the syntax and further manipulating such elements. The jQuery Certification exam by StudySection will secure your fundamental knowledge and a basic understanding of jQuery as an asset to improve your skills.


